
The Goodnature A24 trap is simple to install. This video walks you through each step to set you up for trapping success. So your trap stays constantly attractive to pests, remember to refresh your paste every six months.

1. Install your detector cards
To find the best location for your trap, use Detector Cards, leaving them in place for three nights. Install your trap where rodents have interacted with the cards.

2. Separate the trap mount from the trap body
Using your forefinger and thumb, press the Black Tabs inwards and ease the orange Trap Mount along and off the Trap Body.

3. Attach the trap mount
Using a screwdriver, screw in the orange Trap Mount 12cm (about a hand width) above the ground onto a straight tree or post. Do not overtighten the screws.

4. Click the trap body to the trap mount
Tilt the Trap Body backwards slightly and lower it onto the top locking tab of the Trap Mount. As you press downwards the Trap Body will be guided in toward the Trap Mount and lock in with a click.

5. If attaching to a trap stand
Guide the top slot at the rear of the A24 onto the upper central locking tab of the stand. Once these are coupled, gently ease the trap into the stand and it will click into the lower locking tab. It is easiest done when you don’t force it. The trap is mounted correctly when there is no gap between the A24 and stand.

6. A24 Trap Stand
Secure the A24 to the stand by closing the orange Stand Lock. You will hear a ‘click’ when it is in place. Place your trap stand on a flat surface or ground. There are two peg holes at either end of the stand that you can use to keep the trap upright when situating it on an uneven surface.

7. Power up your trap
Remove the black cap from the gas canister. Be careful to keep the screw thread clean and free of debris. Screw the canister firmly into the trap. Hand tighten only.
8. Attach the digital strike counter
If you purchased a Counter with your A24, slightly wet the inside of the rubber strap for lubrication and rotate the Counter anti-clockwise as you ease it up the canister. The Counter display must face directly away from the trap.
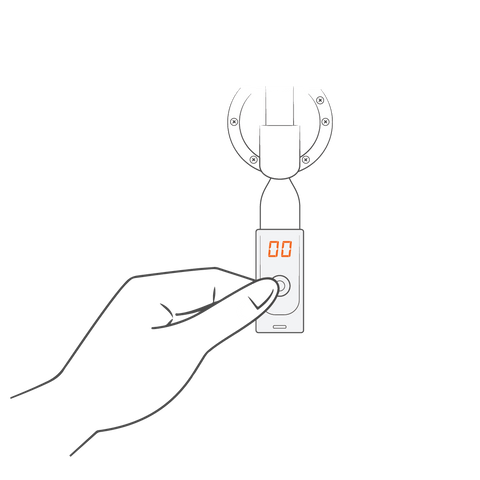
9. Zero the counter
Zero the Counter by pressing the button and holding it down until the display shows ‘00’. The Counter goes to sleep a few seconds after the button is released.

10. Test-fire your trap
To test fire the trap, reach a pen or twig down through the top of the trap and push the Trigger gently to the side. The Striker will fire with a bang and then retract. Always keep your hands clear of trap entrances and always treat the trap as live.

11. Activate the automatic paste pump
Remove the 10c coin from the top of the Automatic Paste Pump (APP) just before you put it into the Shroud Cap. This activates the technology which will dispense paste for 6 months. It is vital you remove the coin or the APP will not activate.

12. Nest the APP into the shroud cap
With the APP activated, gently squeeze and shape the APP into the Shroud Cap. It will be a tight fit. Push the APP into the Shroud Cap until its skirted edge sits aligned with the edge of the Shroud Cap rim. It will then easily screw into the Paste Cradle.
13. Remove the APP screw cap
Now remove the APP Screw Cap. A small amount of paste may be forced out, that’s fine – there’s still enough paste for 6 months. Wipe this excess paste below the entrance to your trap to start attracting pests.

14. Screw & secure the shroud cap & APP
Place the Shroud Cap with the APP into the Paste Cradle and screw into the internal thread with a few turns. Once the APP is screwed into the Paste Cradle, secure the Shroud Cap onto the trap by pushing down and clicking into place with another turn. The APP is now set and active!

15. Replace the gas & paste every six months
Your APP will last for 6 months. Make a note of when you’ll need to replace your paste. This keeps your paste fresh and attractive to pests. It’s a good idea to replace your gas canister at the same time, so your trap is powered and ready for action.

16. Checking the counter
To check the tally on the Counter, quickly press and release the button. The display will show the number killed. Pressing and holding the button down zeroes the Counter.
Happy trapping.